
A protocol consists of all of the materials you will need to provide the IRB-SBS with information about your study so that they can determine if the protocol meets the regulatory and ethical standards for human subjects research. The IRB-SBS iProtocol form gathers this information through a series of checkboxes, textboxes, and uploads; the questions are designed to prompt you to provide the information the IRB-SBS needs to make its determination and should be answered in full. The form is designed to prevent you from submitting until the required textboxes and checkboxes are populated and certain uploads are satisfied; you will know that all the required fields are populated when the "submit" button is available at the bottom of the protocol. Once the protocol is submitted, the protocol will need to be signed. For more information, please see Signing an iProtocol.
1. To create a new “blank” protocol, select the “Create Blank Protocol” link on the Protocol Management page.

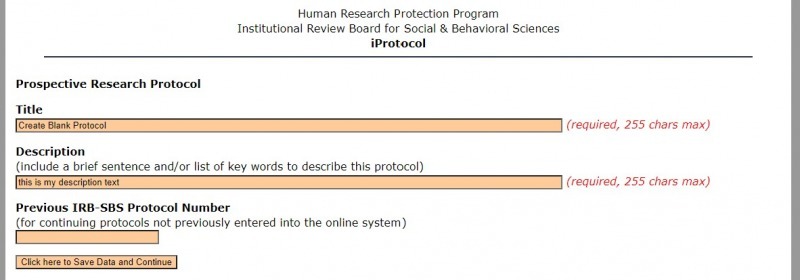
2. You will be directed to add a title and a brief description.*
3. Select "Click here to Save Data and Continue."
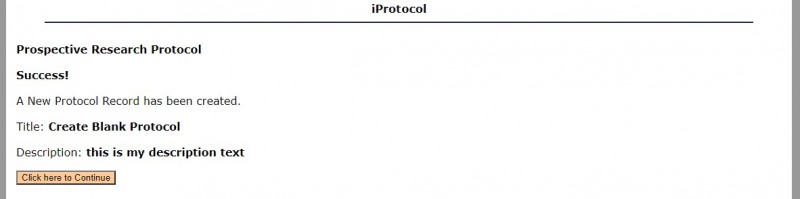
4. The "Success" screen will indicate that a new protocol is created. Select "Click here to Continue."
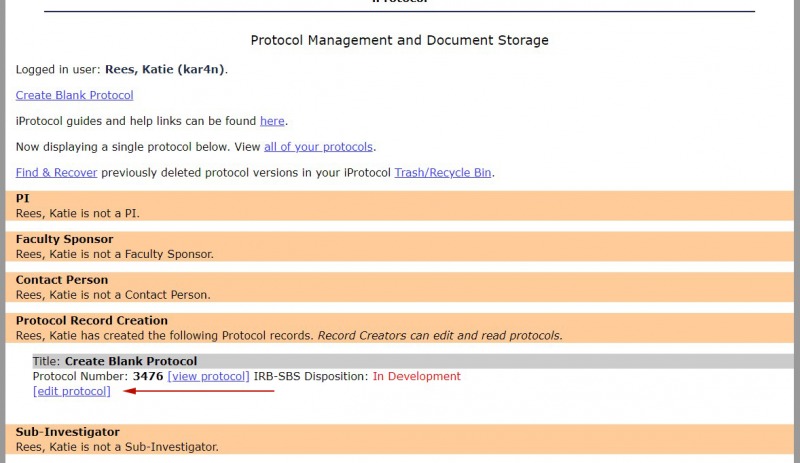
5.The new protocol is now displayed in the Protocol Management page.
6. Select the "edit protocol" link to continue adding content to the protocol.
*The "Previous IRB-SBS Protocol Number" is for studies that were previously approved using our Word document form (no longer available). These protocols were assigned numbers using an old numbering system and adding this number helps us to connect their old file with the new content on iProtocol. If you are creating a new protocol in iProtocol, you do not need to fill out this field.
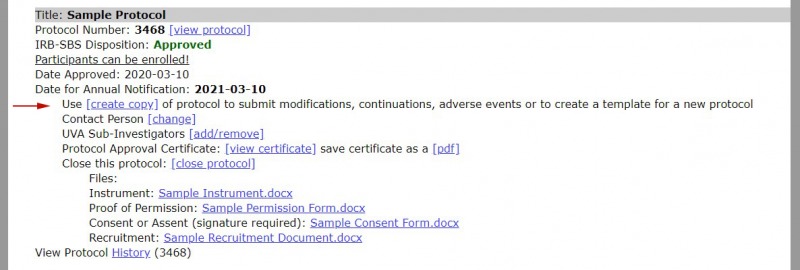
Using a previously approved protocol as a template for a new protocol can save time in protocol creation. A copy of a previously approved protocol will retain all of the data entered into the textboxes and checkboxes as well as any uploaded documents. The protocol will be assigned a new title and number and you can edit all of the content in the protocol (including adding or removing uploaded files). None of the review information for the previous protocol will be retained and the review process will start afresh.
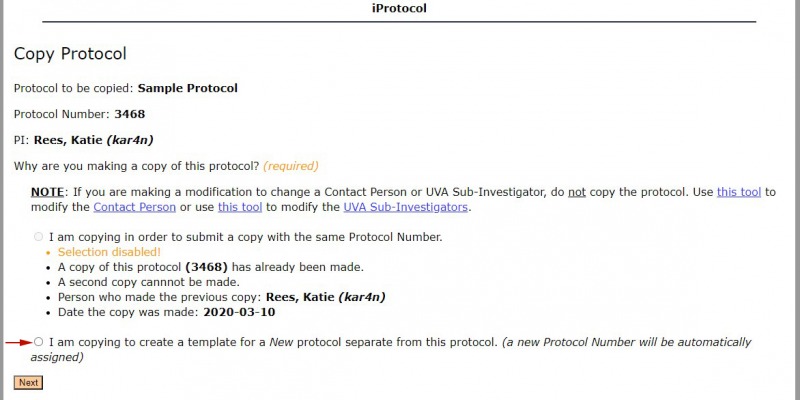
1. Find the protocol that you want to copy in the Protocol Management page. Select the "create copy" link.
2. Select the second radio button "I am copying to create a template for a new protocol..."
3. Select "Next" to continue.
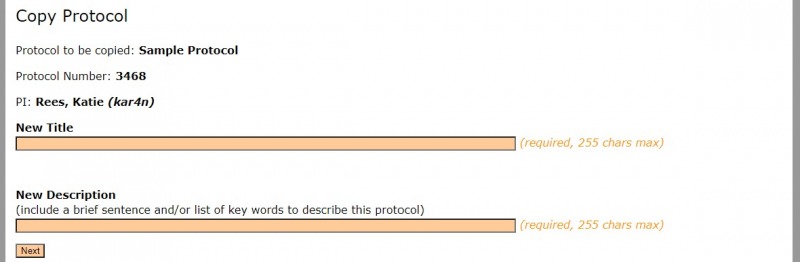
2. You will be directed to add a title and a brief description.
3. Select "Next" to continue.
4. The "Success" screen will indicate that a new protocol is created. Select "return to Protocol Management" to continue.
5. The new protocol is now displayed in the Protocol Management page.
6. Select the "edit protocol" link to continue adding and editing content in the protocol.
If your study does not involve actively collecting data and your study is considered a "secondary use of existing data" study (for a more complete definition, see Secondary Use of Existing Data), some of the questions in the iProtocol form may not apply to your study. However, you can still use the form to provide the Board with an accurate description of your study. Remember that the ultimate goal of the protocol form is to provide the Board with the information that they need to understand your study. Make sure that the Study Overview section states specifically that you are doing a "secondary data" study and that your description of the study matches the definition (i.e. doesn't imply that you are actively involved in the data collection). If a question does not apply to your study, you can respond "NA" or "not applicable" though do so carefully as some of the sections may still apply to your study. For example, the Board will want to know basic information about the participants (even if they are just data records to you) such as the participant age range and the number of participants. If you need additional help or recommendations, contact our office.
Don’t use the “back” button.
Using the back button won’t undo an action. If you want to undo something, look for the “edit,” “remove,” or “undo” buttons which will help you to remove or edit content.
Don’t worry, it’s saved!
iProtocol is regularly saving content as you add it into the protocol text boxes but for added measure, you can use the “save” button at the bottom of each text box.
Some formatting can be copied.
In designing this form, we had to choose between text boxes with formatting tools and more robust data processing and we chose the latter so that we could be more efficient in our reviews. However, the boxes will allow you to paste bulleted lists and numbered lists, as well as retain paragraph breaks, etc. If you want to include bullets or numbers, consider typing your response in a Word document (or similar program) and paste it into the protocol text box. If you would prefer to type content into a Word document and then paste it into the iProtocol text boxes, the iProtocol Text Boxes document provides all of the text box questions and can be used as a template for drafting content. It is not necessary to use or submit this document with your protocol.
There are several places where documents can be uploaded to the protocol form. If you need more complicated formatting tools, like tables, create an addendum Word document and upload it in the “Study Overview Upload," for example. PDF documents and images can also be uploaded.
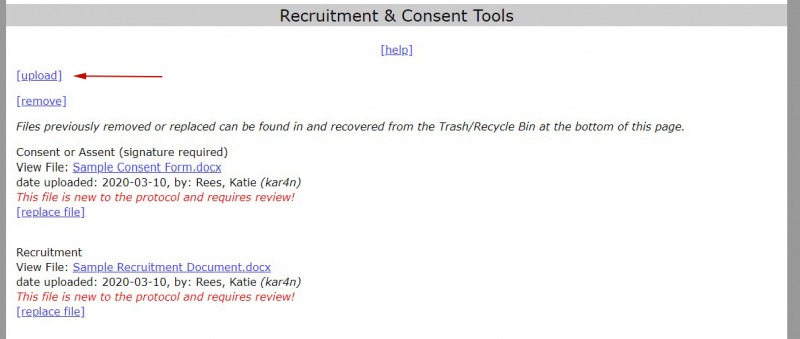
- Select "Upload" in the upload file section of the protocol (Study Overview, Recruitment & Consent Tools, Data Sources Upload, and Permissions).
2. Select “choose file” and then browse for the file that you want to upload.
3. When you find the file you want, select the file and then select “Open.”
4. Select “Continue.” You will see a “Protocol was successfully updated” message.
5. Click on the “return to protocol” link to continue adding content to the protocol

If you are uploading a file in the Recruitment and Consent Tools section, you will select a specific file type to label the file. Selecting the correct file type is important because it unlocks the correct regulatory checkboxes for that file type if if this is not done correctly, the Pre-Reviewer will ask you to remove the document and upload it again using the correct file type. For more information, see Recruitment and Consent Tools.
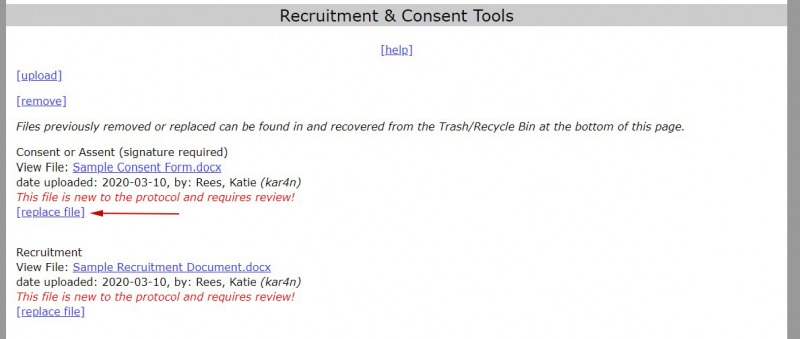
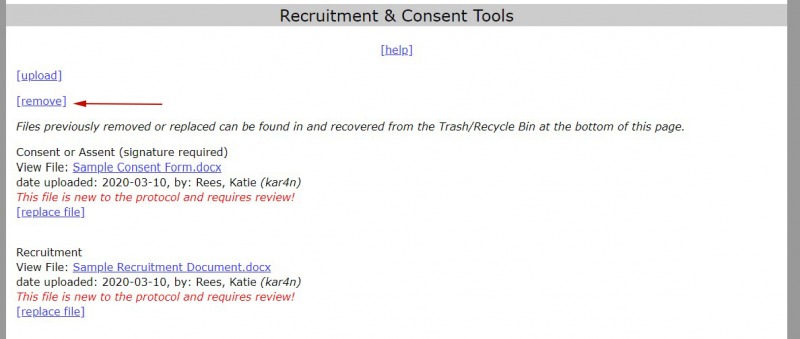
As part of your pre-review or board review, you received a request to revise an uploaded document (usually a consent form or recruitment document). If this is the case, don't "remove" the document (unless the pre-reviewer instructed you to do so). Rather, use the "replace" functionality as it will create better continuity for your review.
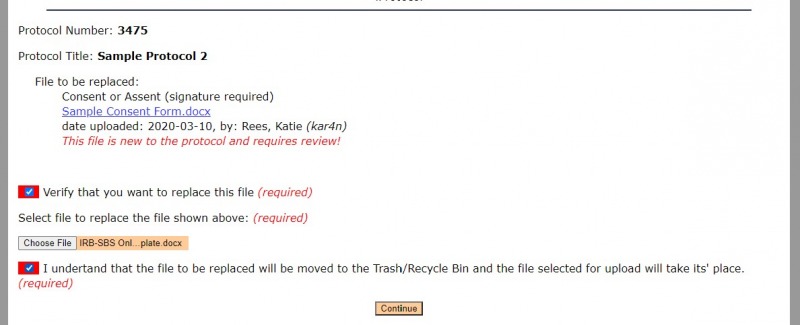
1. Find the "replace" link next to the file you want to replace.
2. Find the new version of the file that you want to replace by selecting "Choose File."
3. Select the two red boxes to confirm that you want to replace the file and to acknowledge that the previous version will be in the Trash/Recycle Bin.
4. Select "Continue.
4. You will see a “Protocol was successfully updated” message.
5. Click on the “return to protocol” link to continue adding content to the protocol.
The previous version of the file is now located in the "Trash/Recycle Bin" at the bottom of the protocol and the new version is located in the desired upload section.
If you received a request to revise a document, please "replace" the document rather than "remove" it. See "replacing an upload" for more information.
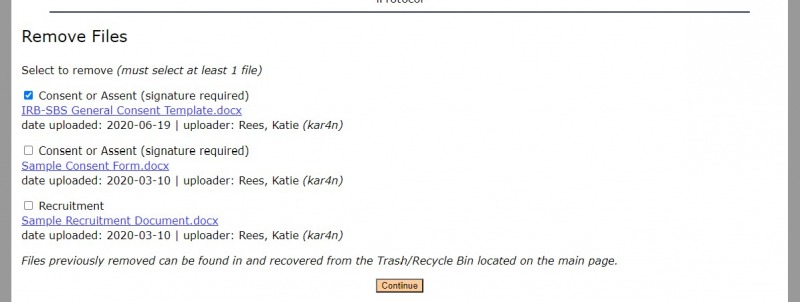
- Select the “remove” link in the upload file section of the protocol (Study Overview, Recruitment & Consent Tools, Data Sources Upload, and Permissions).
2. Select the box next to the file that you want to remove. You can select more than one file to remove.
3. Select “Continue.”
4. You will see a “Protocol was successfully updated” message.
5. Click on the “return to protocol” link to continue adding content to the protocol.
The file is now located in the "Trash/Recycle Bin" at the bottom of the protocol.
Deleted files are stored in the “Trash” section at the bottom of the protocol. Look for the file in the “Trash” section.
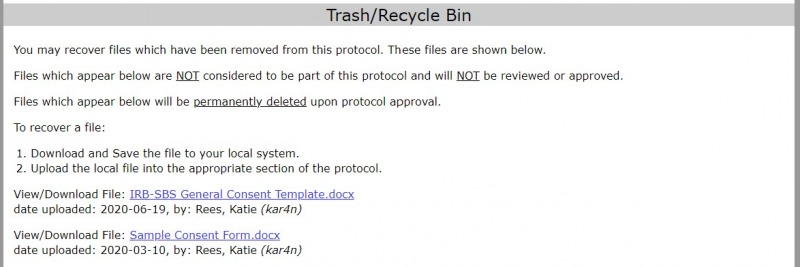
- Select the link for the file that you want to recover. It will download to your computer.
- To add the file to a specific section in the protocol, see the directions above for uploading a file.
Be complete:
- Make sure that you provide an accurate picture of your study to the IRB-SBS. The protocol questions are meant to encourage you to explain your study to the IRB-SBS and to provide them with the information that they need to do a complete review. If you leave out information, the IRB-SBS is unable to grant full approval until they have their questions satisfied.
- Make sure that you provide all of the documentation requested by the IRB-SBS (i.e. consent forms, instruments, advertisements); if you describe it in your protocol the IRB-SBS will want to see it. iProtocol is designed to prevent you from submitting your protocol until you provide a minimum level of responses but only you will know if the protocol is truly completed.
- Make sure that you fully describe your experience and expertise in your field of research so that the IRB-SBS can feel comfortable with your ability to successfully engage the targeted population for your study.
Be concise:
- In keeping with the first point, don’t say more than you need to. Remember that your reviewer is often a busy professional who won’t be able to wade through pages and pages of theories.
- Make every response to the point, providing succinct answers loaded with information.
- Be careful not to repeat yourself continuously. Some of the questions ask for aspects of the study from different perspectives, so some repetition will be necessary. However, if you find that you are saying the same thing over and over again, review some of the questions and see if there is information that you could include that hasn’t already been stated.
Be clear:
- Submitting a well-organized protocol will not only make review easier for your reviewer, it will help them to understand what you are proposing to do.
- Make sure that your writing is error-free, particularly in your consent documents.
- Don’t overburden your reader with technical jargon. Although your reviewer will be an expert, not every Board member who will read your protocol will have experience in your niche of the field. If your protocol includes technical equipment, instruments, and/or technical jargon, make sure to provide definitions and explanations. If this information is in the consent form, make sure that it is clearly explained at a sixth grade reading level.
The "Submit" button is at the bottom of the iProtocol form. The application is designed to prevent you from submitting a protocol until all required fields are populated. If you see this message at the bottom, there are still required fields in the protocol form that have not been populated.

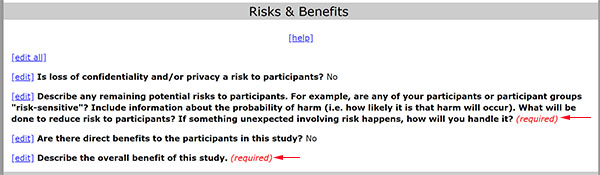
You need to check the protocol to make sure there are no more red "required" notices which indicate that a section is not completed.
Once all of the required fields are populated, the message at the bottom of the form will look like this:
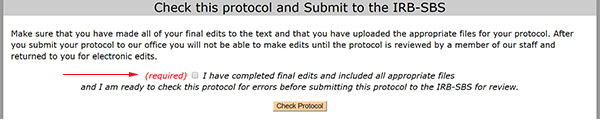
To submit the protocol, select the checkbox and select the "Check Protocol" button. You will complete one more "are you sure" checkbox before you see the confirmation message.
Once the protocol is submitted, go to the iProtocol homepage and click on "Protocols which require your signature" to sign the protocol. For more information, please see Signing an iProtocol.